ESS Timesheet Entry
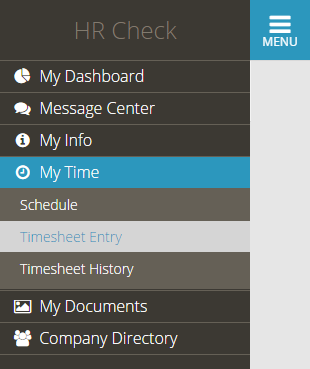
The ESS Timesheet Entry page is found in the Left Navigation under the My Time section.
Navigating the Timesheet Entry Screen
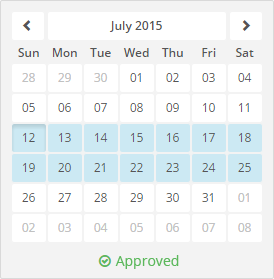
Use the Mini Calendar to click on a date. The entire Pay Period containing this date will be highlighted.
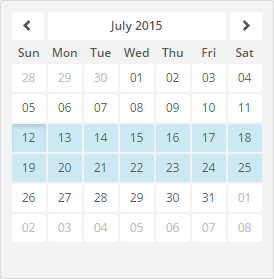
The Pay Period selected in the Mini Calendar will populate the same dates in the Big Calendar.
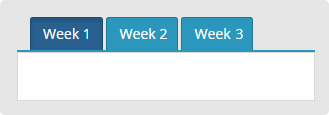
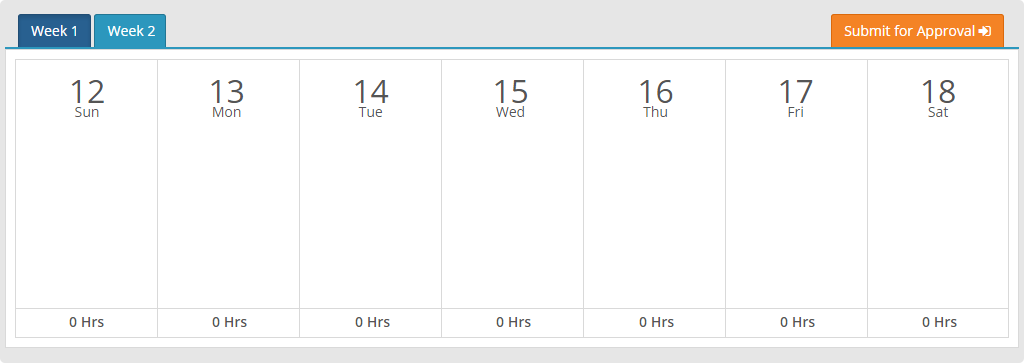
Note: Companies will pay their employees at different Pay Periods (Weekly, Bi-Weekly, Semi-Monthly or Monthly). Depending on your Companies setup, you may have additional Tabs representing each week in the Pay Period.
It’s important when filling in Timesheets that you make entries for each week by choosing the correct tabs.
Add New vs. Editing a Timesheet Entry
You can Add a New timesheet entry or Edit an existing entry by clicking on a date in the Big Calendar.
Empty Date
By clicking on an Empty Date, the details screen will open allowing you to Add a New record for that date.
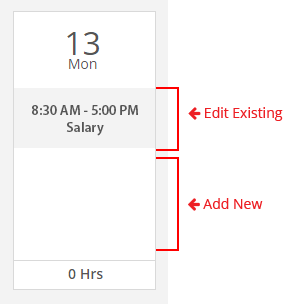
Existing Timesheet Entry
When a date contains an existing Timesheet Entry, you can click on the Timesheet Entry to Edit that record or the White Space to Add a New record.
Multiple Timesheet Entries
When a date contains multiple Timesheet Entries, you can click on the individual record for more details.
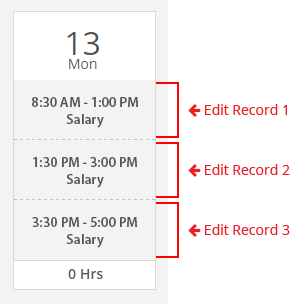
Note: When you have multiple Timesheet Entries, there may not be any White Space left to Add a New record. Instead, click on any of the records and get the details screen. On the details screen, you will now see an Add New Button.
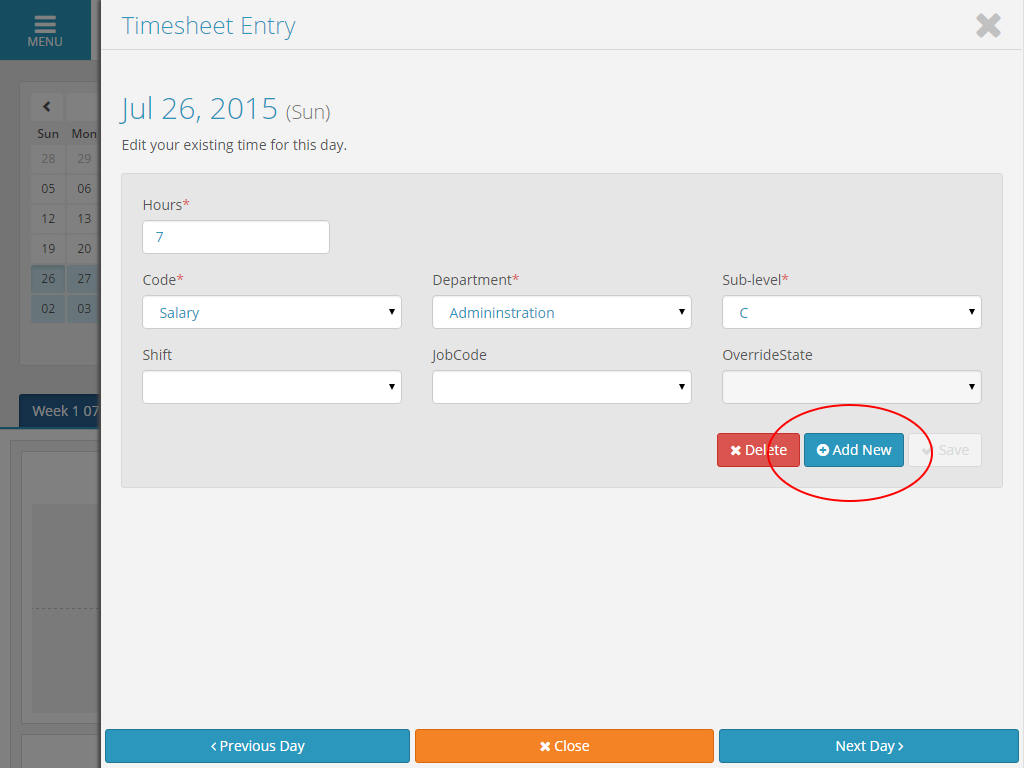
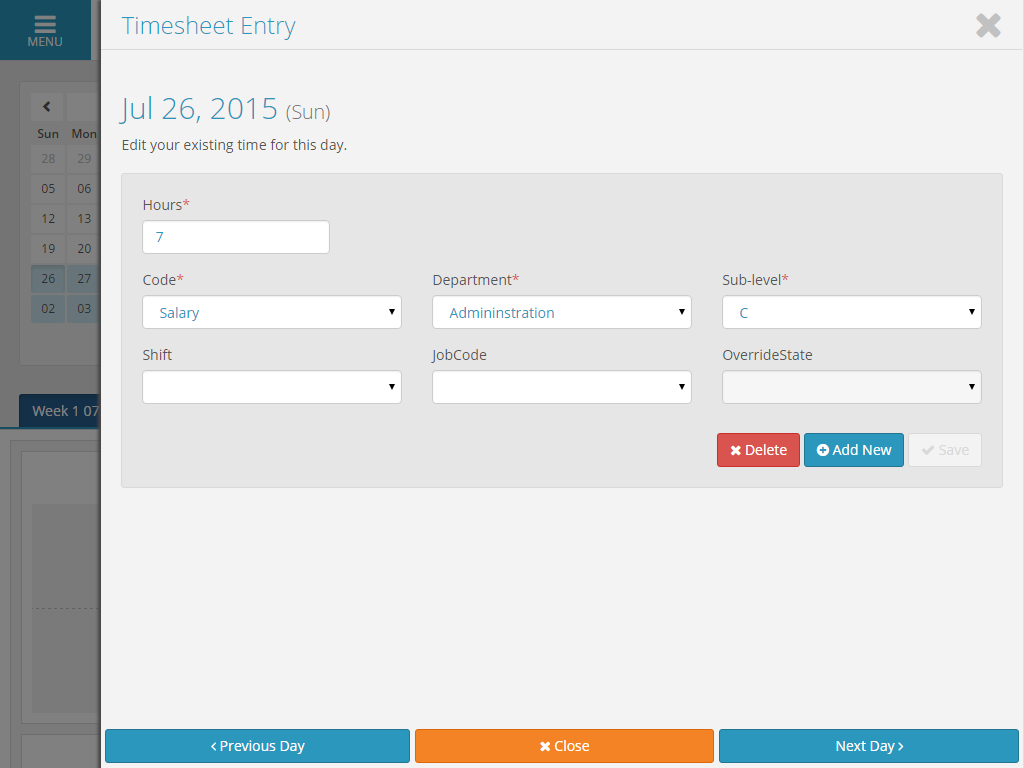
Timesheet Entry Details
Enter the Hours or Start Time and End Time along with the appropriate Code. If applicable you may also select your Department, Shift or Job Code.
Once the information has been added, click the Save button. By clicking the Next Day button you can easily move to the next day to make further entries.
Submit for Approval
You can continue to make changes to your timesheets before submitting them for approval. Once all entries have been made, click the Submit button for approval.
Note: Before submitting, you should always check each week by visiting the Tabs at the top of the calendar to make sure everything is correct.
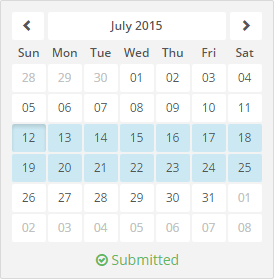
Submitted Timesheets
Submitted Timesheets have been submitted by you, but have not yet been approved by an Administrator.
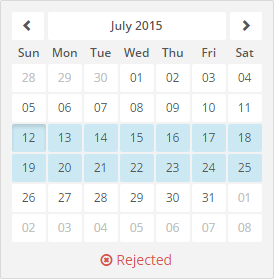
Rejected Timesheets
Rejected Timesheets have been denied by an Administrator. The administrator will usually leave you a note and tell you what you need to fix. Once you have fixed your timesheet, make sure to click the Submit for Approval button once more.
Approved Timesheets
Approved Timesheets have been submitted by you and Approved by an Administrator.